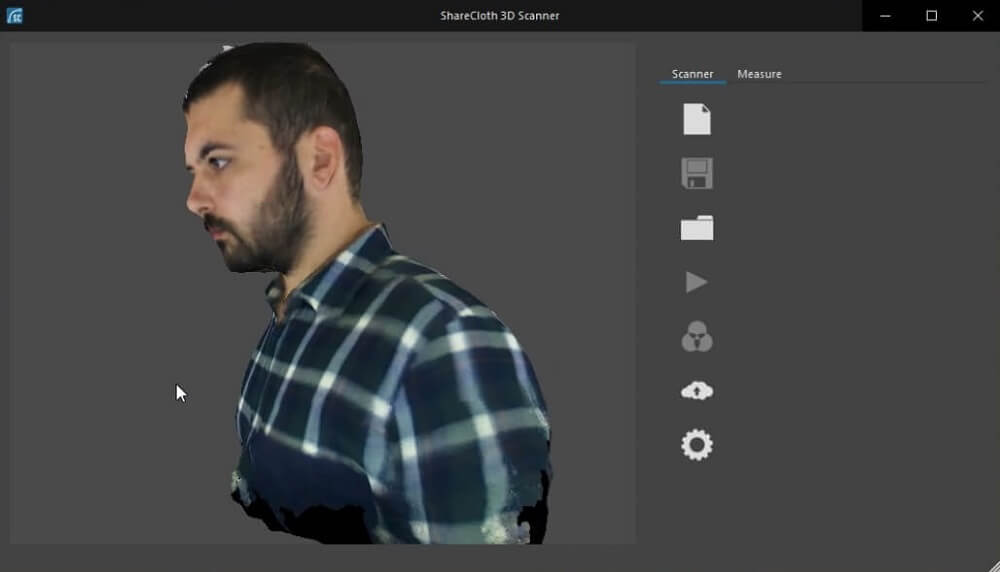
«ShareCloth 3D Scanner» human scanning application
From 2015 to 2017, I was lucky enough to take part in a rather interesting startup. A small company called ShareCloth made an interesting CAD system. It allows you to digitize clothing patterns, place them around a virtual mannequin, and sew a virtual dress at the touch of a button. The physics engine (company's own development) very realistically reproduces physics of various types of fabrics, allowing users to estimate how a particular dress will fit on a particular figure. The idea behind this system is to revolutionize the fast fashion industry. Change the way we buy clothes, bring the process of choosing and trying clothes to the cloud.
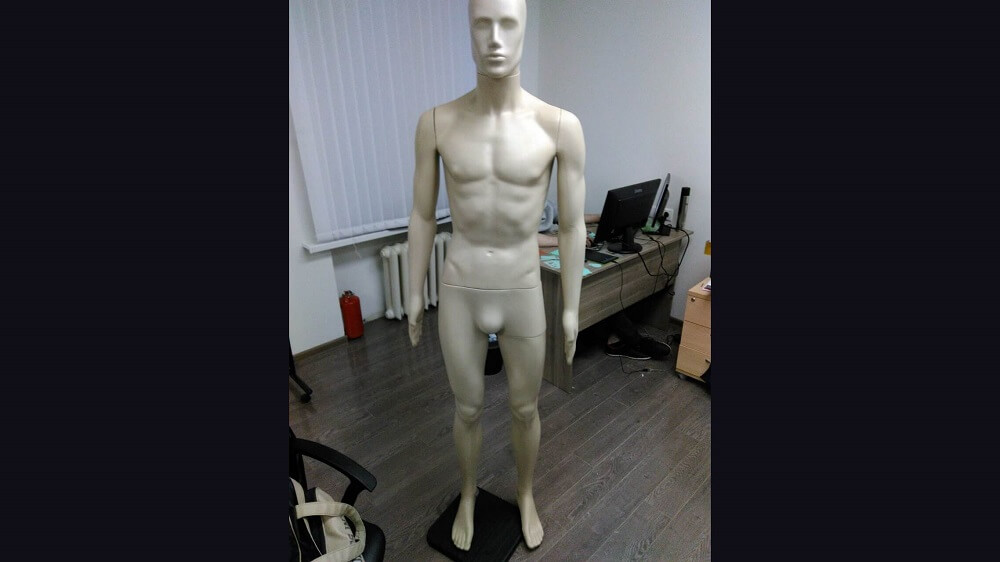
The problem was that the virtual mannequin, although flexible in settings, does not reflect well the features of the figure of an individual person. It was decided to develop a scanner that would allow obtaining an individual virtual model of a person, which would be used to try on clothes. This company hired me exactly for the implementation of this project.
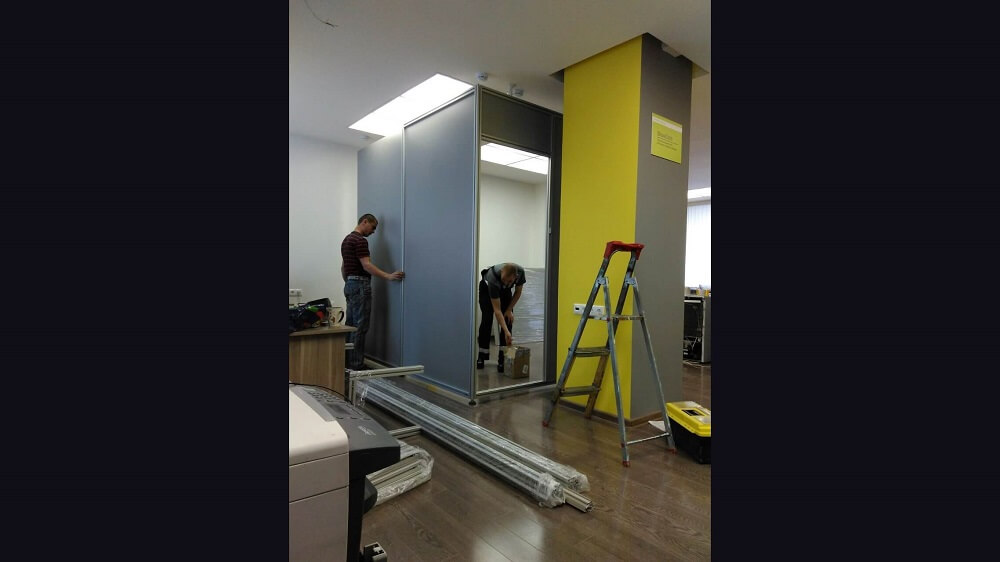
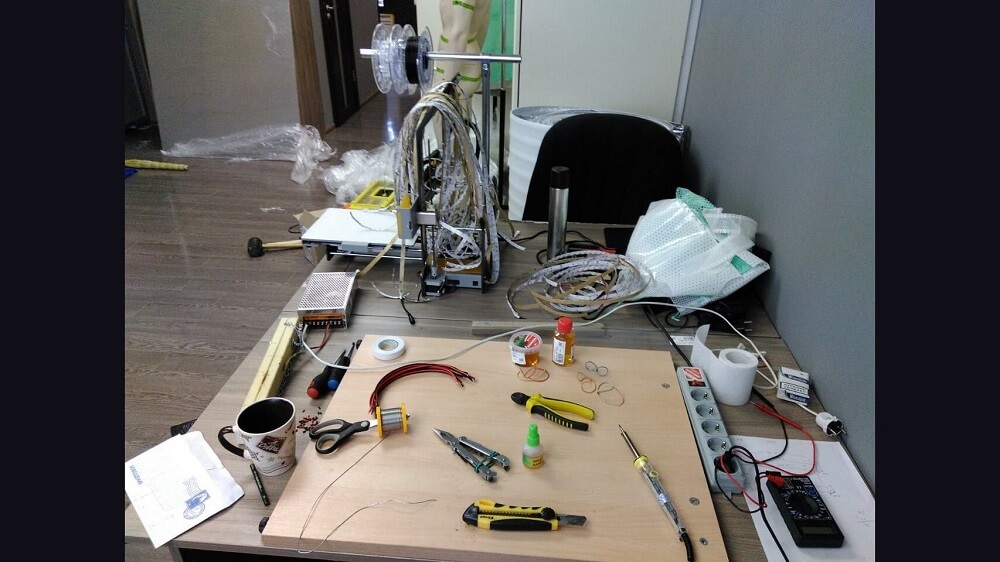
I am especially proud of this project, because it was literally done on my knees, the software part was done by me alone, and our project manager helped me in assembling the booth. A small startup with severely limited investment could not afford to hire a large development team.
What does the system developed within the project look like?
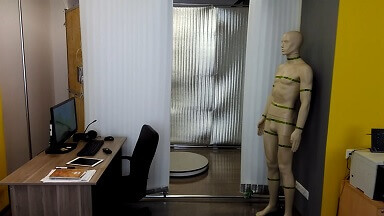
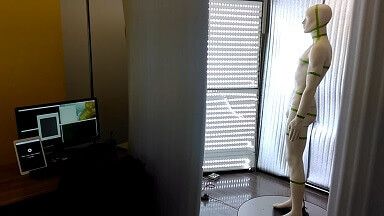
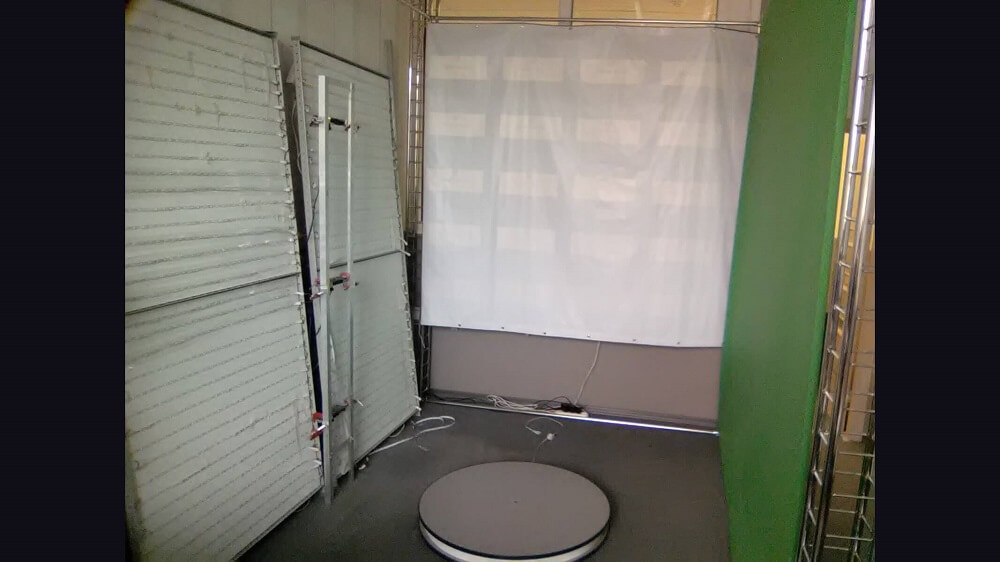
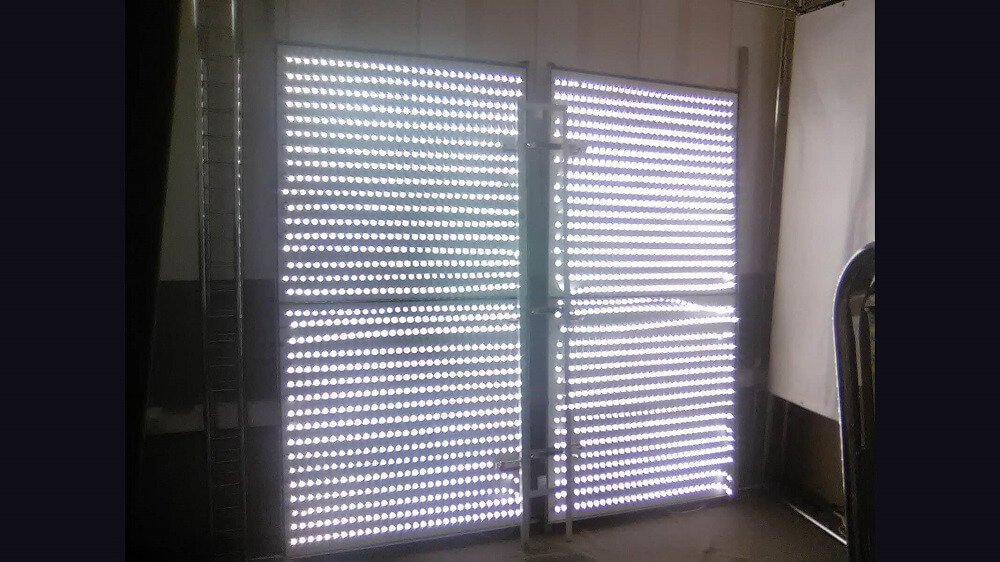
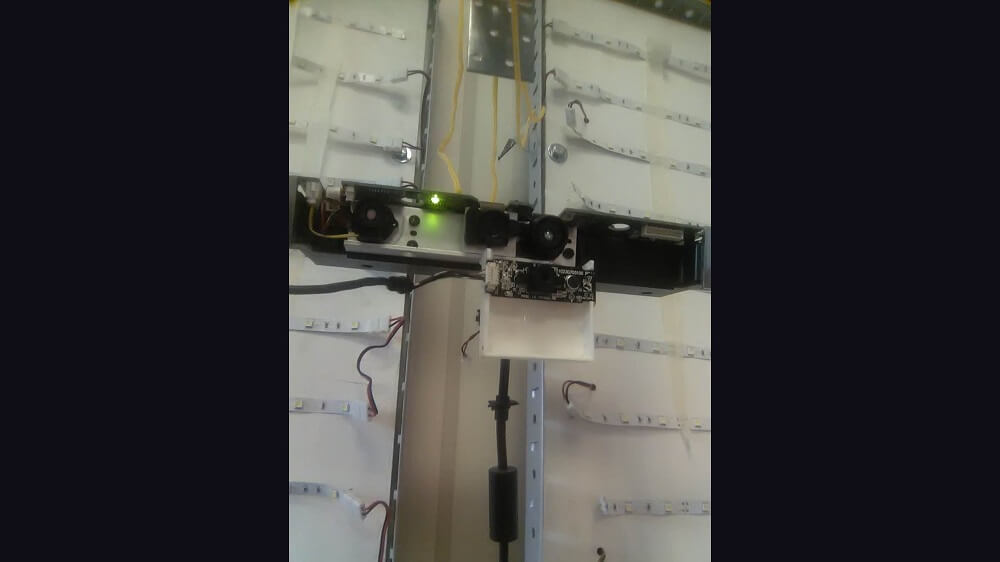
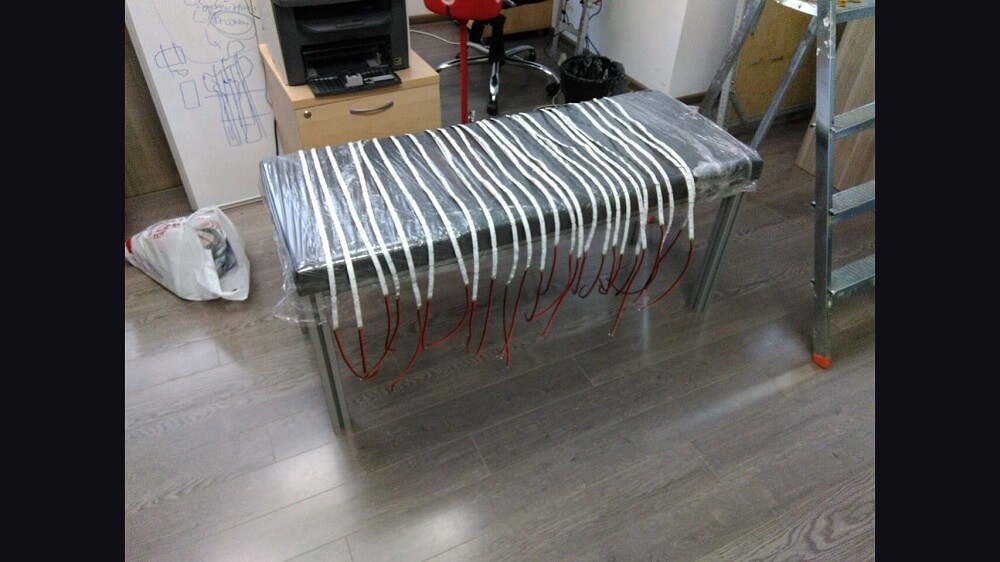
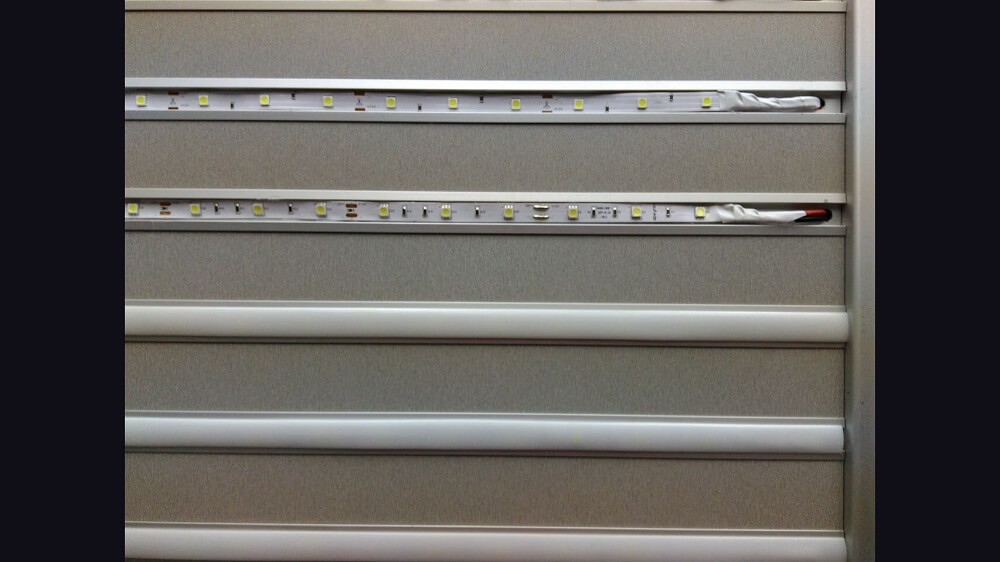
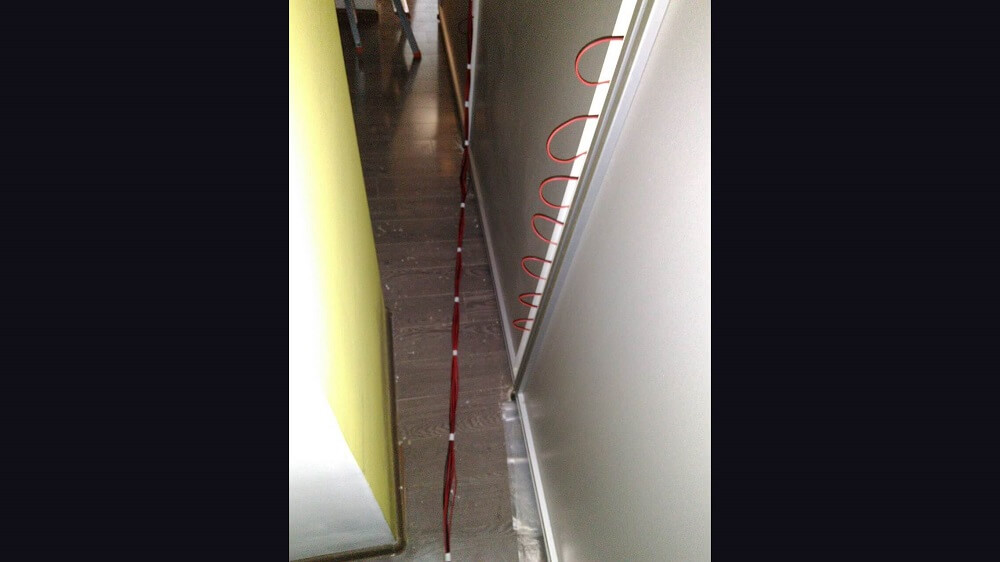
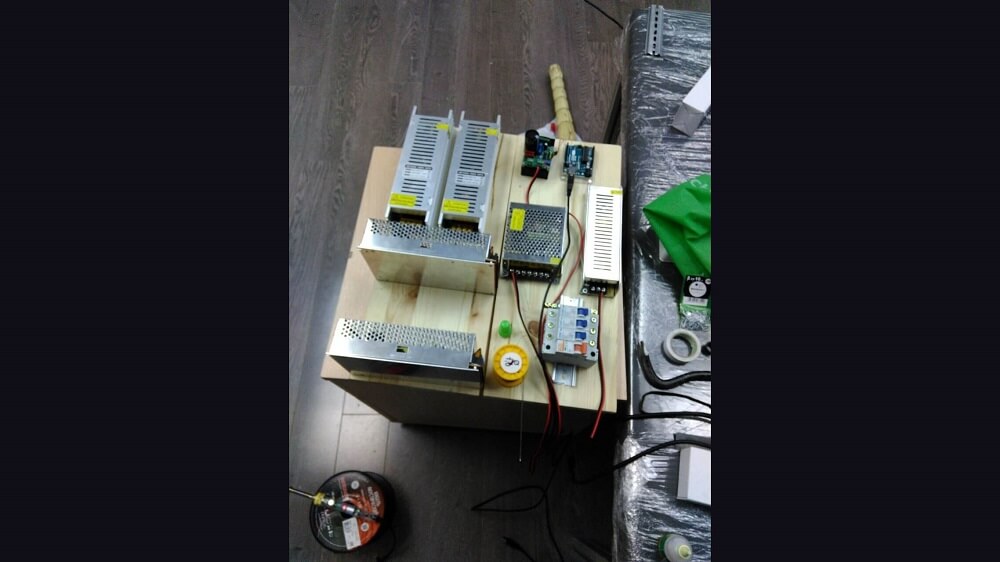
From a technical point of view, this is a small booth, assembled from the Joker system, gypsum board and plexiglass. Yes, yes, project manager and I assembled it ourselves. One wall is pasted over with LED strips (we also did soldering and wiring on our own), this was done so that the light source was diffused and did not create shadows. The rest of the walls are covered with white self-adhesive paper. In the center of the booth, there is a rotating platform, and in the corner, there is a vertical stand with three Intel RealSense cameras. An Arduino microcontroller connected to a regular computer controls LED wall and platform. In this company, I had to master the basics of microcontroller programming)))
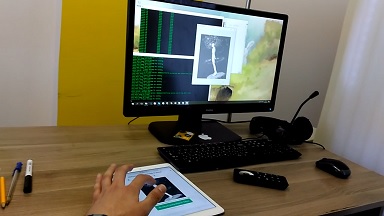
As for the scanning process, it looks as follows. Person stands motionless on the platform during the whole process. Operator starts scanning by pressing a single button, lighting automatically turns on, platform begins to rotate. At this time, data is being taken from 3d cameras. Scanning process takes about 30 seconds - time required for platform to make a full turn. As you might have guessed, we need a full turn of the platform in order for the cameras to photograph a person from all sides.
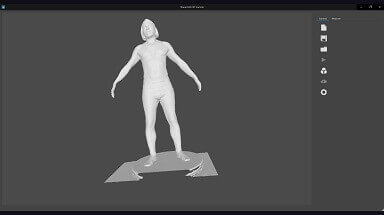
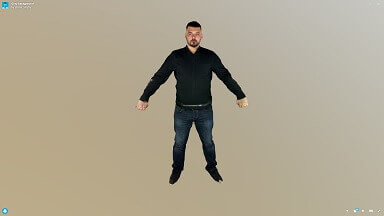
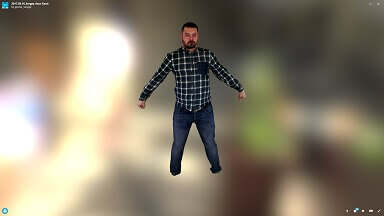
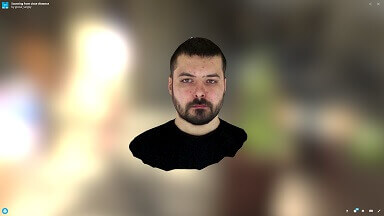
As soon as the raw data from the cameras have been received, processing begins; this process takes about 10 minutes. The first step is preliminary processing: at this stage, a high-poly model is generated, it is cleared of degenerate triangles and other things, small holes in the geometry are sewn up. Further, geometry is modified, number of triangles of the model is reduced, and polygonal mesh is brought to a regular form. We then automatically generate an unwrapping of texture coordinates for a low-poly human model. After that, taken photos are analyzed and a photorealistic texture is generated. At the final stage, the skeleton fits into low-poly textured human model.
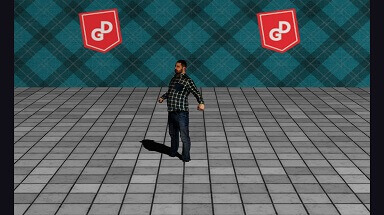
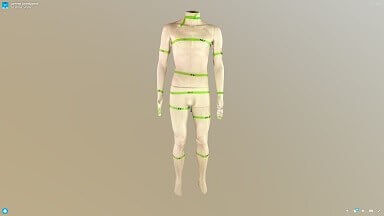
Reducing models triangle number is required in order for the CAD system to work quickly. Why do you need an inscribed skeleton, you ask - skeleton is used by the CAD system to automatically position clothing patterns around the human model. Well, or you can just make a funny animation using skeletal animation, as shown in the video)))
From an architectural point of view, scanning and post-processing system is implemented as a separate service. Simple GUI application for the operator interacts with this service. GUI application is implemented in two forms: as a regular desktop application written on Qt and a web application that can be run on a tablet.